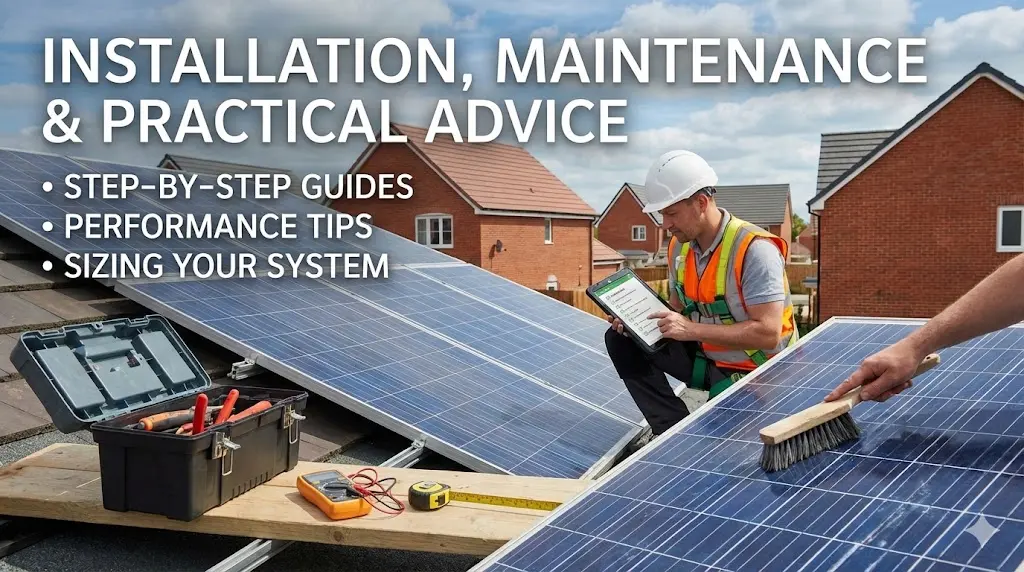
Installing solar panels is a construction project, an electrical upgrade, and a financial investment rolled into one. While the concept is simple—put panels on the roof, generate power—the logistics of regulations, grid permissions, and ongoing care require attention to detail.
Whether you are just assessing your roof or preparing for installation day, this guide covers the practical realities of owning a solar system in 2026.
Before booking an installer, you need to assess the physical suitability of your property.
While south-facing roofs generate the most power, they aren’t the only option. East and West-facing roofs can generate around 80–90% of the output of a south-facing system and are often better suited for working families who use energy in the morning and evening [Renewable Energy Hub].
- Pitch: The “sweet spot” for the UK is a tilt between 30 and 40 degrees [Energy Saving Trust].
- Structure: Your roof must be structurally sound to hold the weight of the panels (approx. 20kg per square metre). If you have a flat roof or a slate roof, your installer may need to arrange a structural survey [SunSave].
It is vital to understand the difference between these two legal requirements:
Planning Permission
Most residential installations fall under Permitted Development rights, meaning you do not need planning permission. To qualify, panels must not protrude more than 200mm from the roof surface or sit higher than the highest part of the roof (excluding the chimney) [Spirit Energy].
Exception: If you live in a Listed Building or a Conservation Area, you will likely need consent [SunSave].
Building Regulations
You always need building regulations approval to ensure structural and electrical safety. The easiest way to comply is to hire an installer who is part of a Competent Person Scheme (like NAPIT or NICEIC), allowing them to self-certify the work [SunSave].
You cannot simply plug a solar system into the National Grid; you must notify the Distribution Network Operator (DNO). The type of application you make depends on the size of your system.
G98: “Fit and Notify”
If your system’s total capacity is under 3.68kW per phase (typical for most 1-3 bedroom homes), the process is simple. Your installer fits the system and then notifies the DNO within 28 days of commissioning [Capture Energy].
G99: “Apply and Wait”
If you want a larger array (over 3.68kW) or are installing a battery that can discharge quickly to the grid, you fall under G99 rules.
- The Rule: You must get DNO approval before installation begins.
- Timeline: Approval typically takes between 4 and 8 weeks, though complex projects can take longer [EcoFlow].
⚠️ Risk: If you install a large system without G99 approval, the DNO can force you to disconnect it or limit your export to zero [OVO].
A standard residential installation typically takes 1 to 2 days. Here is the step-by-step workflow:
Scaffolding
This is usually erected a few days before the install to ensure safe roof access [Renewable Energy Hub].
Mounting
Roof anchors (hooks) are screwed into the rafters, and aluminium rails are attached to these anchors to create a frame [Renewable Energy Hub].
Panel Fitting
The panels are clamped onto the rails. If your roof is flat, a tub-style or ballasted mounting system may be used to angle the panels correctly without drilling into the roof membrane [Spirit Energy].
Wiring & Inverter
DC cables are run from the roof to your inverter (usually in the loft or garage). The inverter converts the electricity from DC to AC for your home [Energy Saving Trust].
Commissioning
The installer tests the system, connects it to your consumer unit (fuse box), and provides a handover pack containing warranties and MCS certificates [SolarTherm UK].
Solar PV systems have no moving parts, making them low maintenance—but not no maintenance.
Cleaning
In the UK, rainfall is frequent enough to keep panels relatively clean if they are tilted at an angle of 15 degrees or more. However, a build-up of dust, leaves, or sap can reduce efficiency. A professional clean every year or two is recommended to maintain optimal output [Renewable Energy Hub].
£100–£200 per cleanBird Proofing (Crucial Step)
Pigeons love the warm space beneath solar panels. They can damage wiring and create fire risks with their nesting materials. Install wire mesh around the perimeter of the array. It is significantly cheaper to do this during installation (while the scaffolding is up) than to retro-fit it later [MoneySavingExpert].
Inverter Replacement
While solar panels are often warranted for 25 years, the inverter usually has a lifespan of 10–12 years. You should budget for a replacement halfway through your system’s life [Energy Saving Trust].
~£800 replacement costSummary Checklist for Homeowners
- Check Accreditation: Ensure your installer is MCS certified. Without this, you cannot sign up for Smart Export Guarantee (SEG) tariffs to get paid for your excess power [SELCE].
- Verify Warranties: Look for a product warranty of at least 10–12 years and a performance warranty (guaranteeing output) of 25 years [SELCE].
- Get DNO Approval: Confirm your installer has submitted the G98 notification or G99 application to the grid operator [Solar Together].
Learn More About Solar
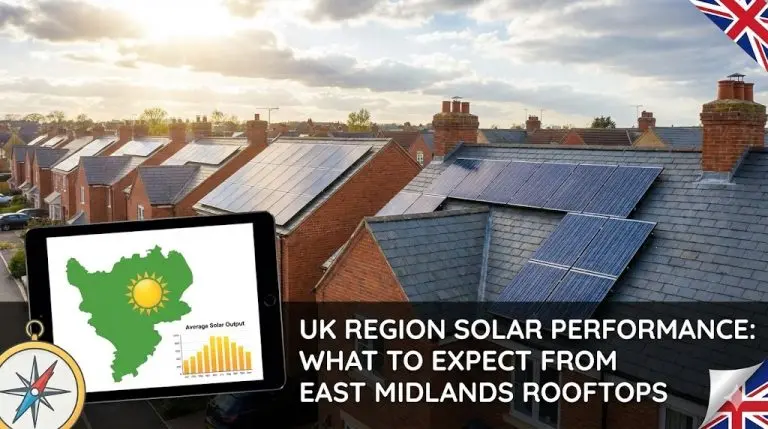

UK region solar performance: What to expect from East Midlands rooftops
UK Region Solar Performance: What to Expect from East Midlands Rooftops While the sunny South…

Solar installer checklist for homeowners in Retford
The Ultimate Solar Installer Checklist for Retford Homeowners (2026 Edition) For homeowners in Retford, the…

UK Market Trends, Policy & Future Outlook
UK Solar Market Trends, Policy & Future Outlook: The 2026 Landscape 2026 marks a watershed…
